← All tutorials

Shortcuts · 9 steps

Use Pay Auto-Log

Connect a Wallet automation to Cashtra’s Apple Pay logging action.

Select any screenshot to view it at full size.

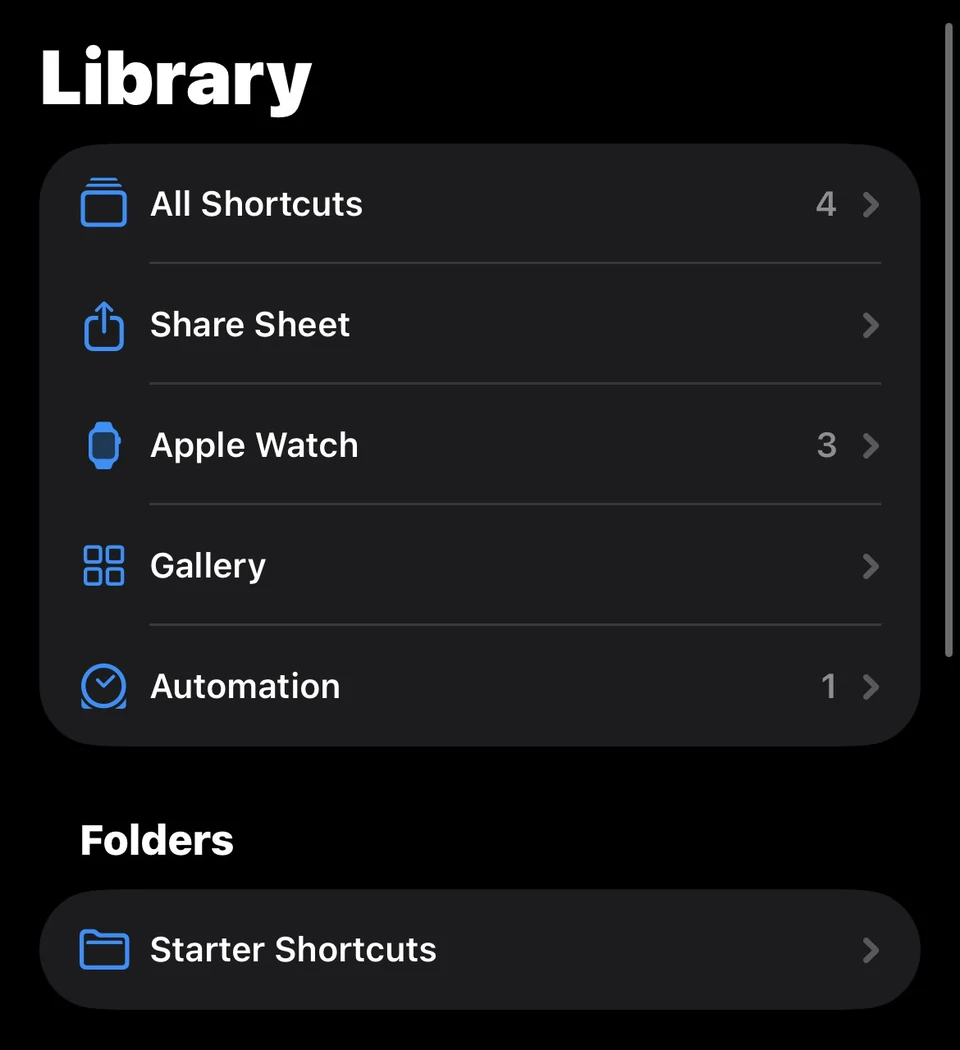
  1. Step 01

    Open the Shortcuts app.

    Use Pay Auto-Log: Open the Shortcuts app.
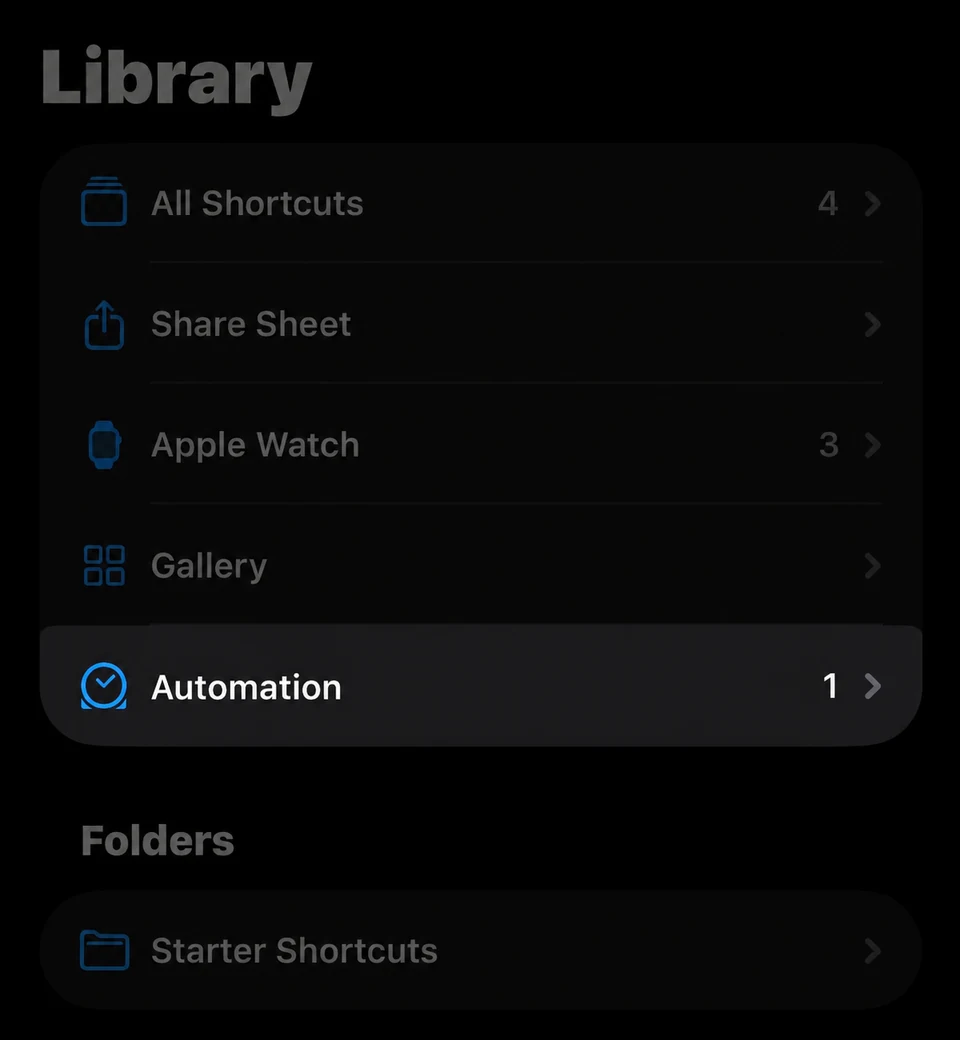
  2. Step 02

    Click "Automation".

    Use Pay Auto-Log: Click "Automation".
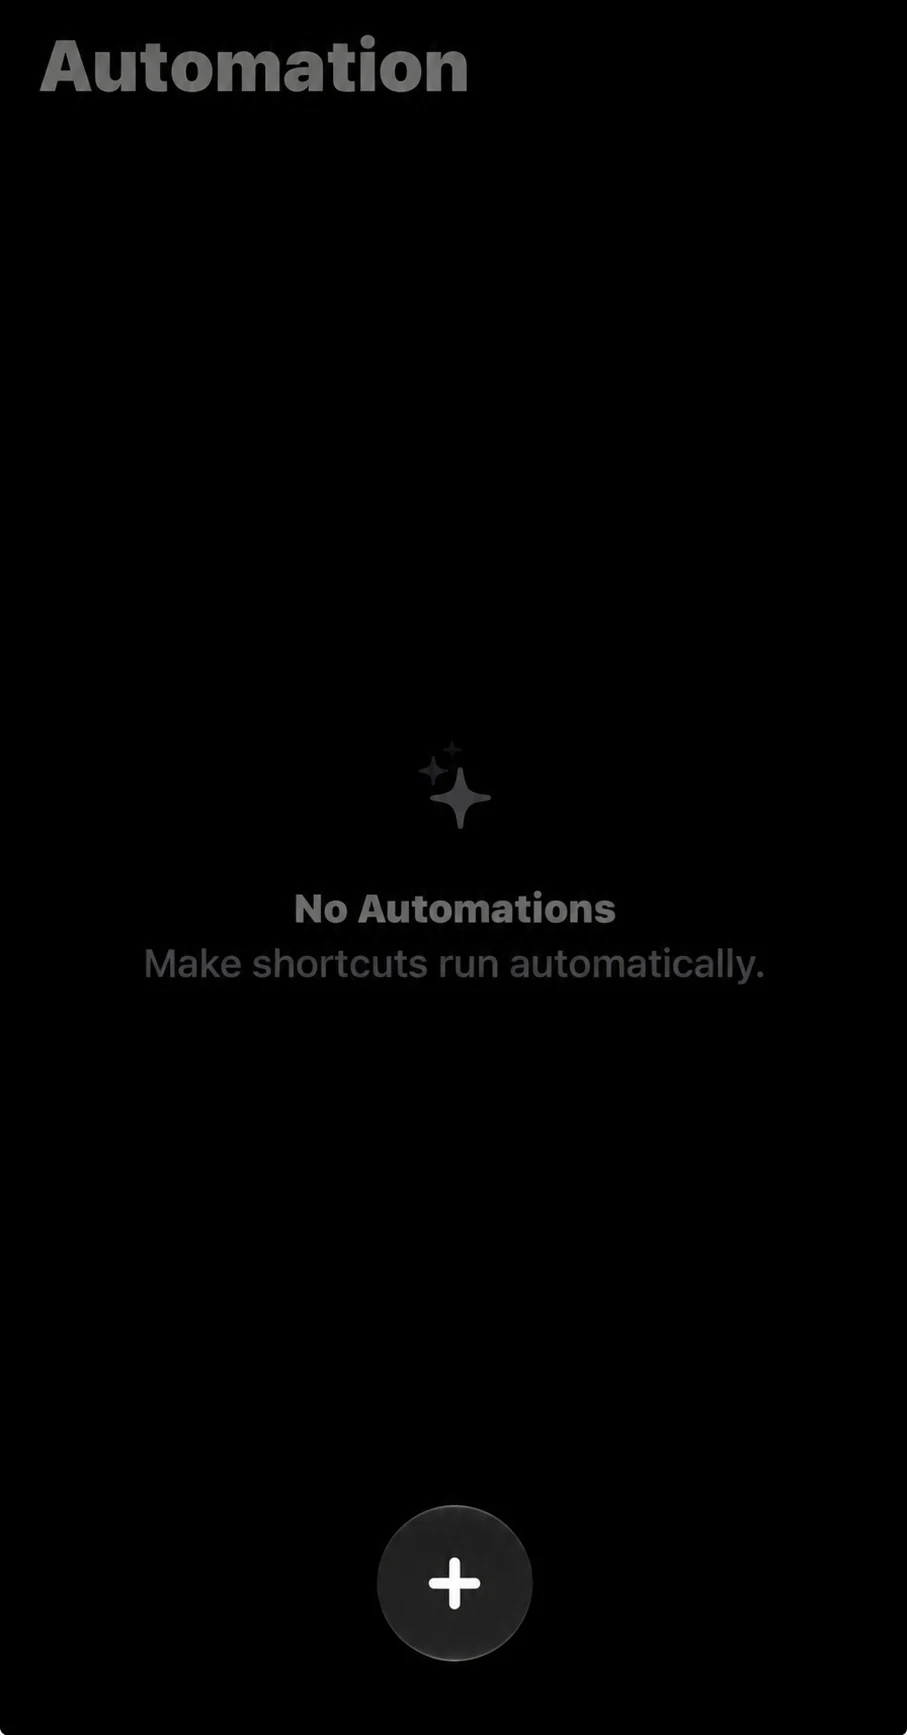
  3. Step 03

    Click the "+" button.

    Use Pay Auto-Log: Click the "+" button.
  4. Step 04

    Click the "Automation" button.
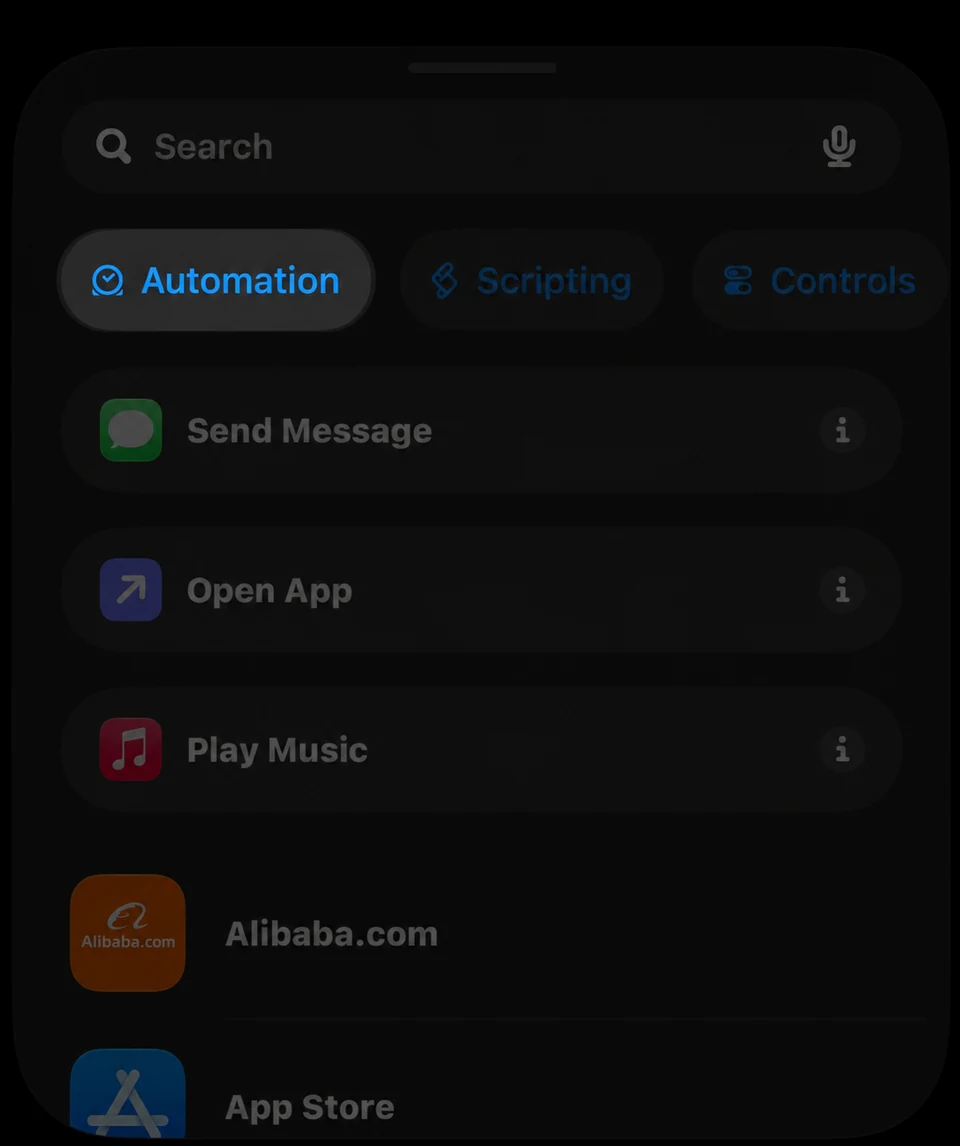
    Use Pay Auto-Log: Click the "Automation" button.
  5. Step 05

    Search for "Wallet" in the list.
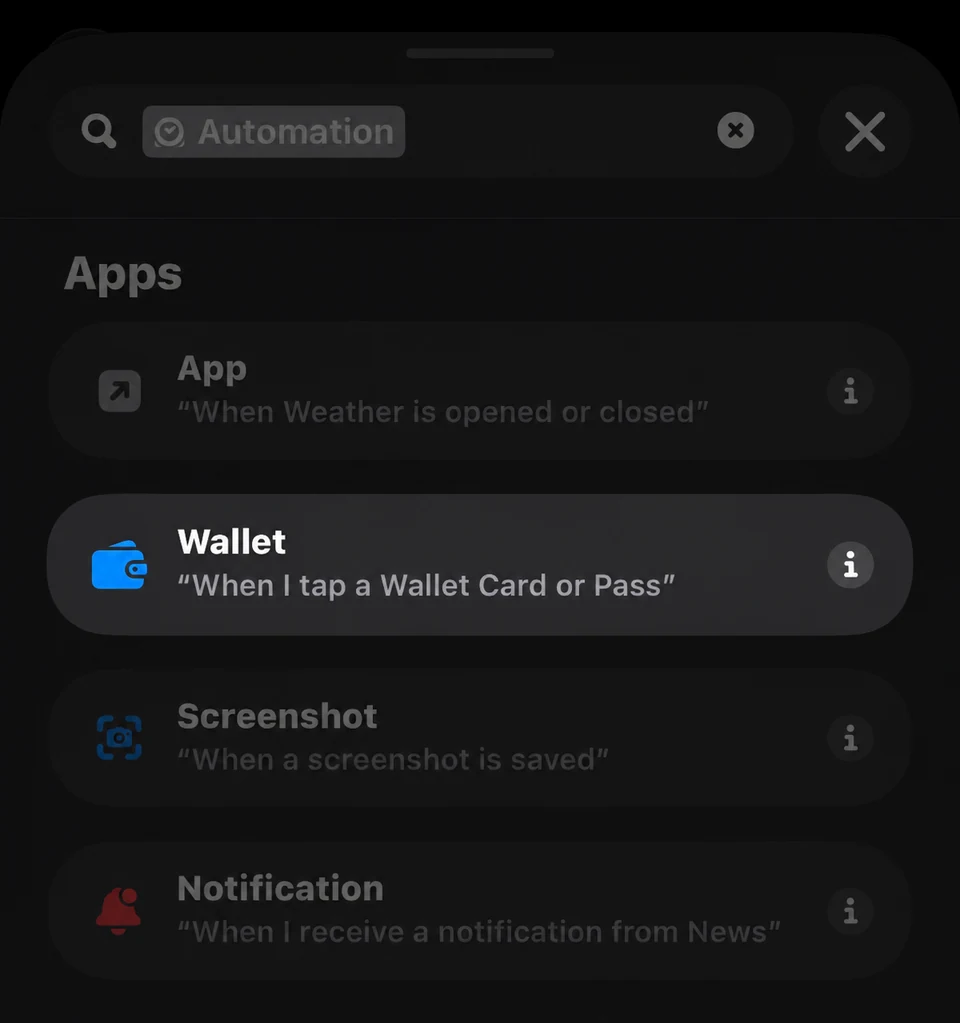
    Use Pay Auto-Log: Search for "Wallet" in the list.
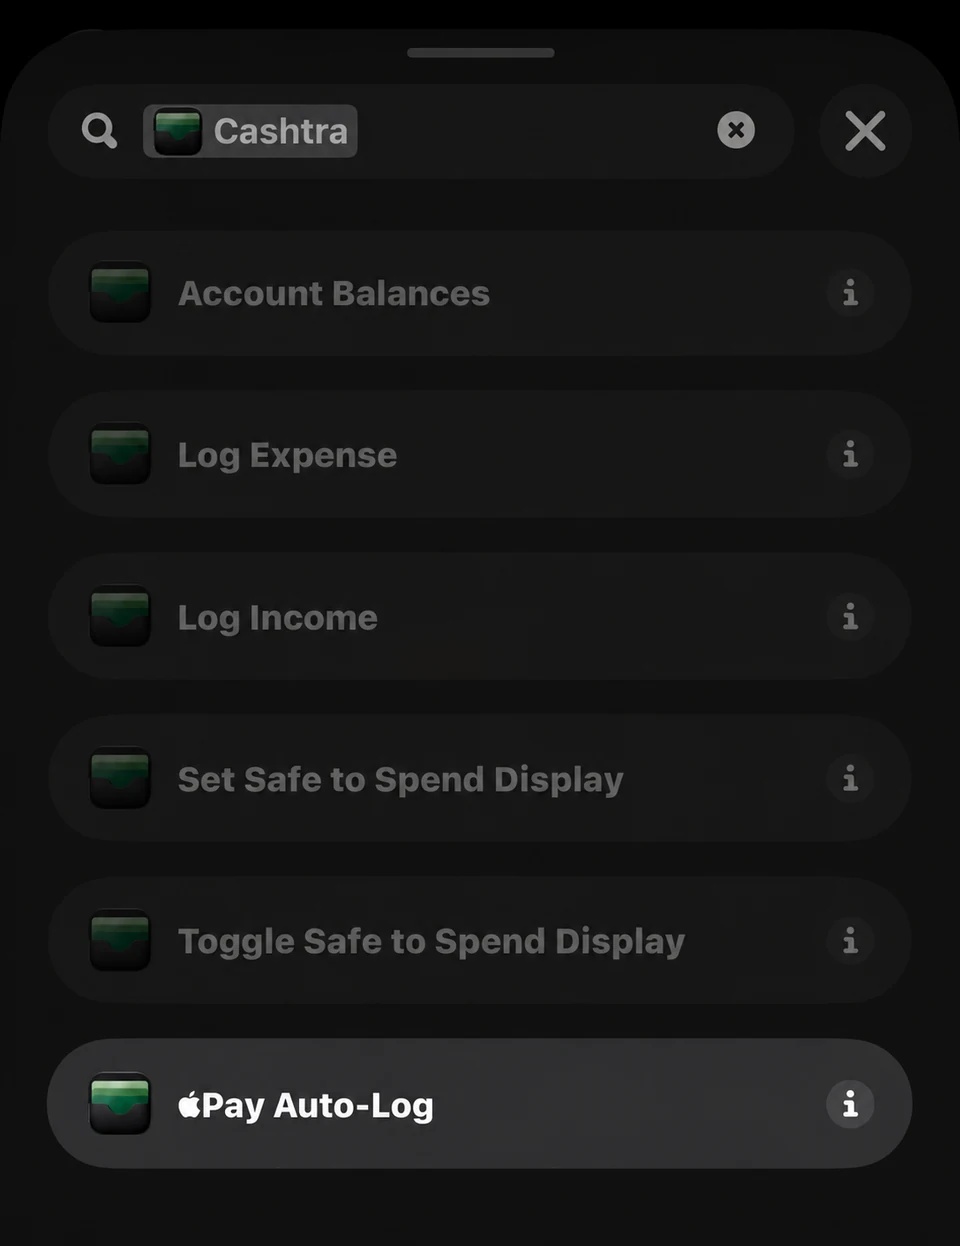
  6. Step 06

    Search for "Cashtra" in the search bar, then select "Pay Auto-Log"

    Use Pay Auto-Log: Search for "Cashtra" in the search bar, then select "Pay Auto-Log"
  7. Step 07

    Click the expense amount then, swipe through the toolbar to find "Shortcut input"
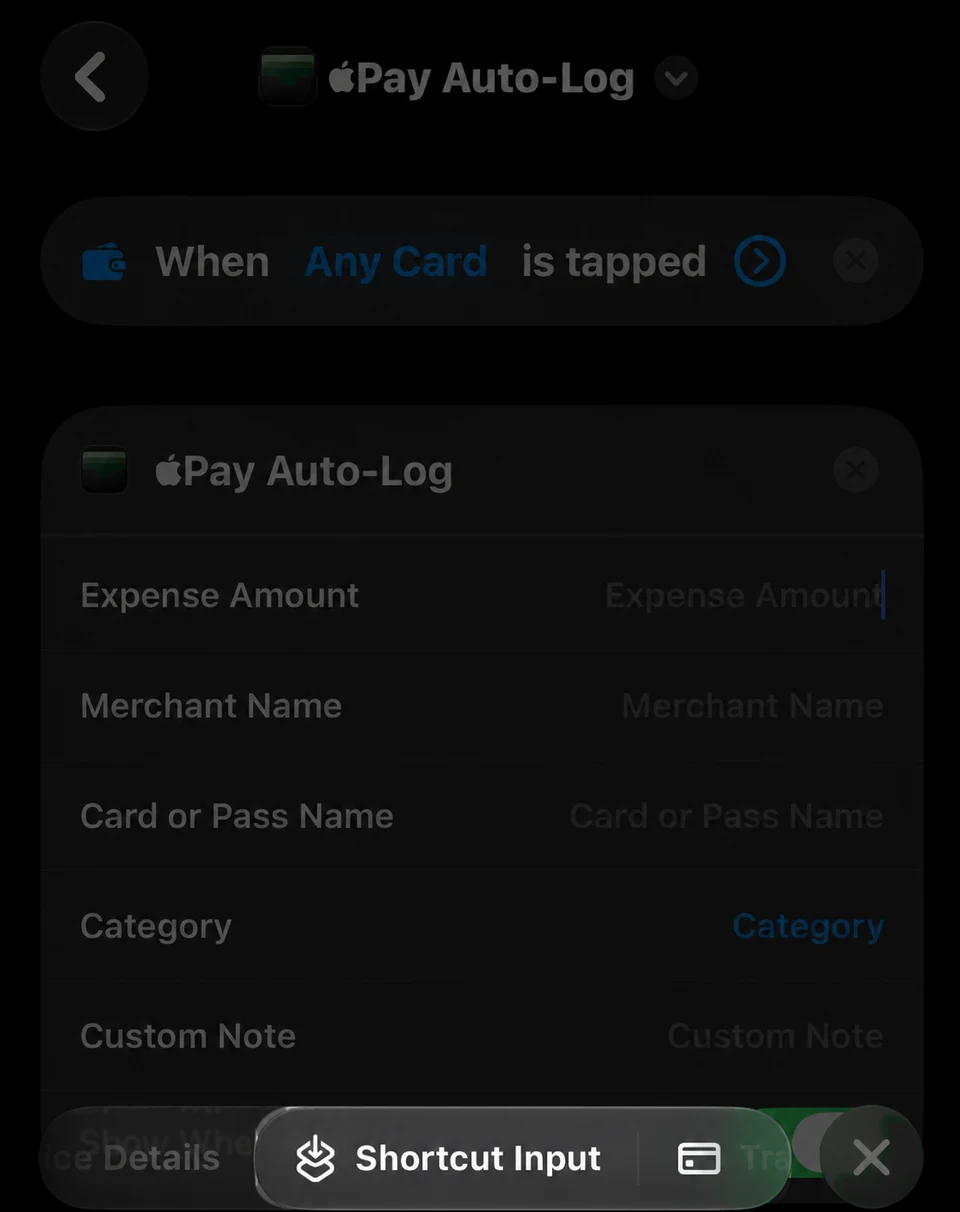
    Use Pay Auto-Log: Click the expense amount then, swipe through the toolbar to find "Shortcut input"
  8. Step 08

    Select matching shortcut input:
    • Expense Amount ➜ Amount
    • Merchant Name ➜ Merchant
    • Card or Pass Name ➜ Card or Pass

    Use Pay Auto-Log: Select matching shortcut input:
• Expense Amount ➜ Amount
• Merchant Name ➜ Merchant
• Card or Pass Name ➜ Card or Pass
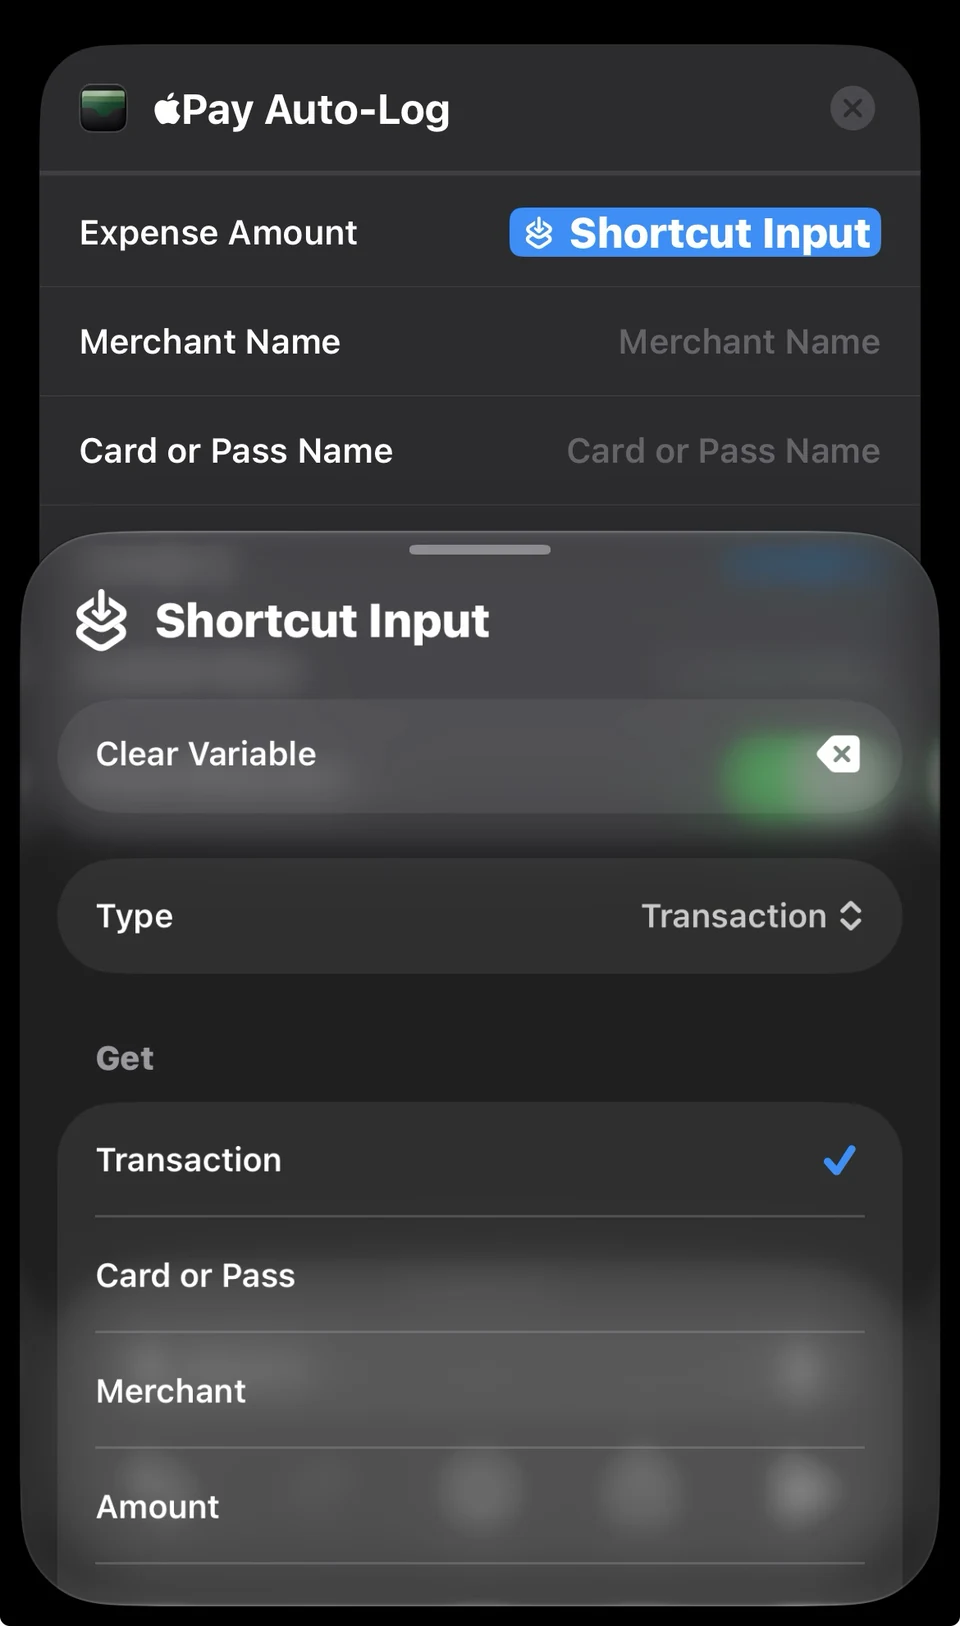
  9. Step 09

    Check the three input mappings, then finish saving your Wallet automation.
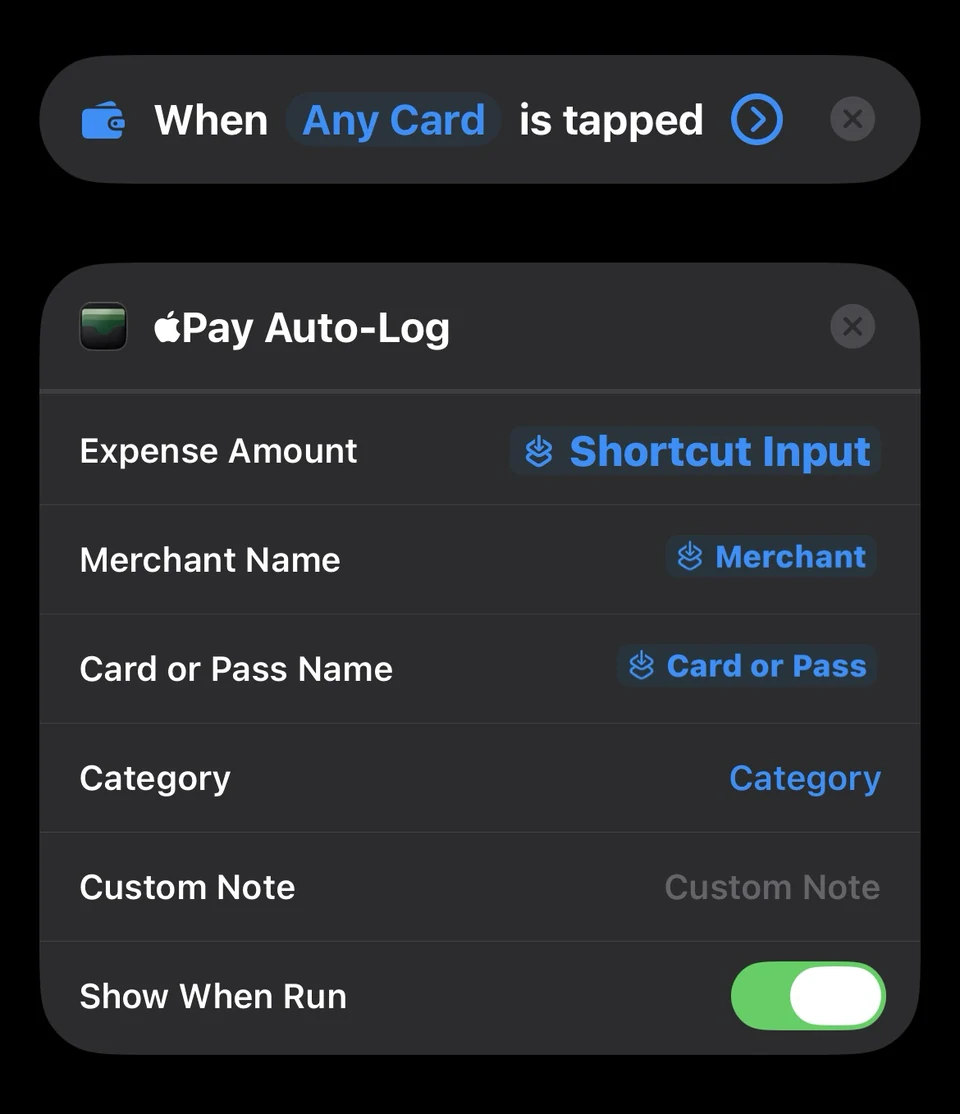
    Use Pay Auto-Log: Check the three input mappings, then finish saving your Wallet automation.